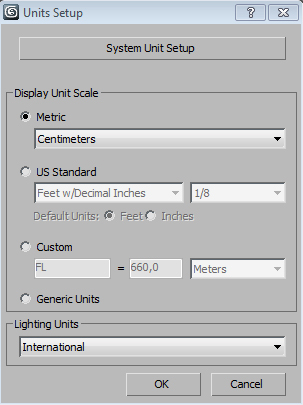
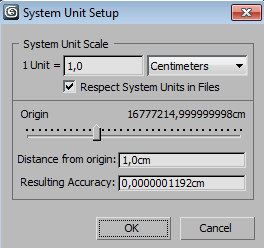
Hi all! Today I would like to present how to setup an interior scene. As usual, before we begin, we change units to cm as shown on the screens below.
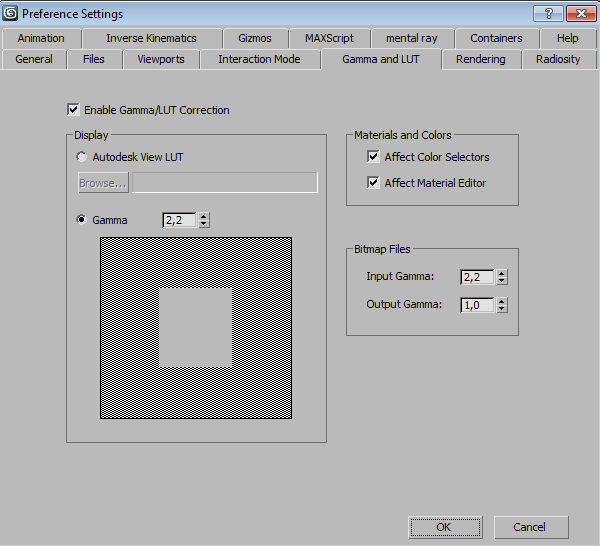
I always use centimeters as my main units so I can easier control objects proportions. I also change Gamma value to 2.2 (you can find this setting in Customize / preferences dialog). This value ensures that we will work with linear workflow, so the renders will be physically precise and colors will be accurate.
I always use centimeters as my main units so I can easier control objects proportions. I also change Gamma value to 2.2 (you can find this setting in Customize / preferences dialog). This value ensures that we will work with linear workflow, so the renders will be physically precise and colors will be accurate.
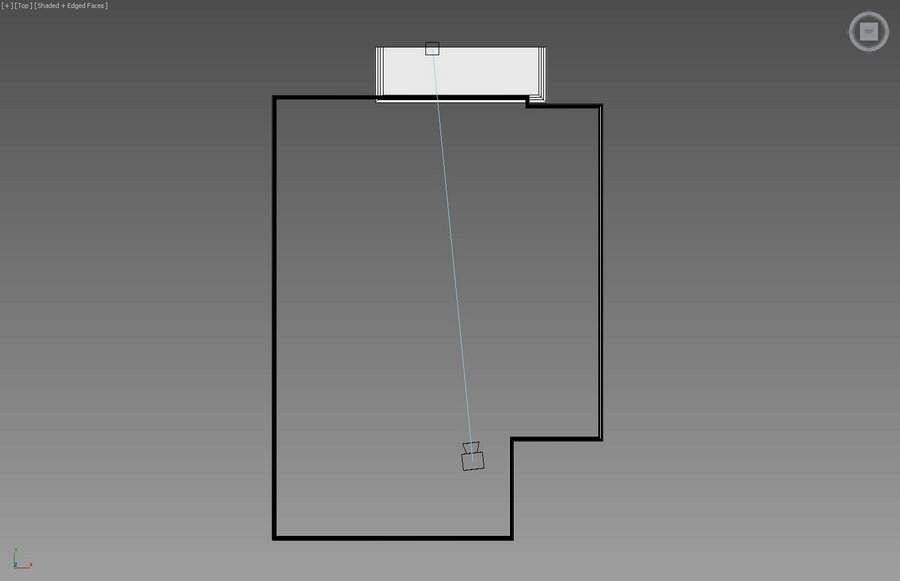
When it comes to modeling the more reference images you have, the faster you work. Search the net and find everything you can about objects that you will be modeling - for eg. pictures and info about materials that they are made of. Before modeling objects I set up room and camera as on the images below.
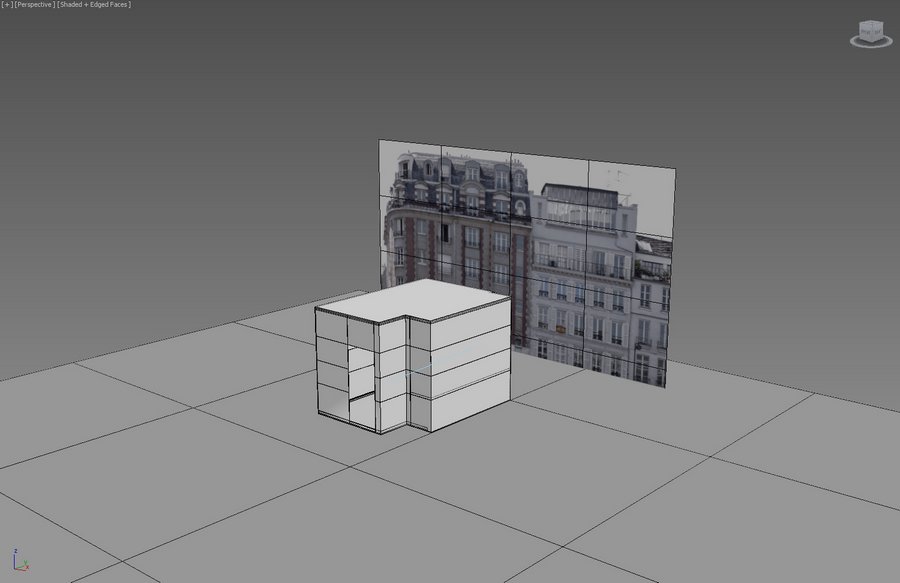
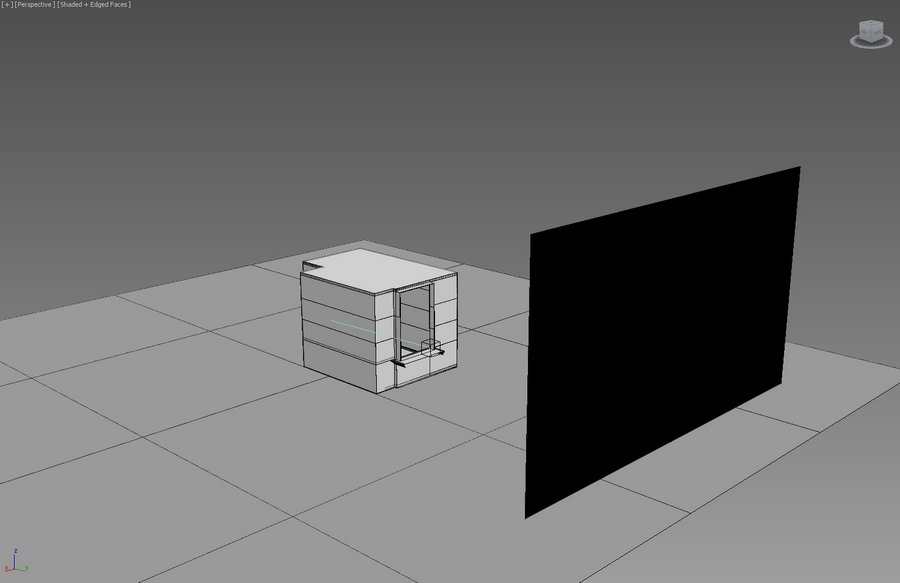

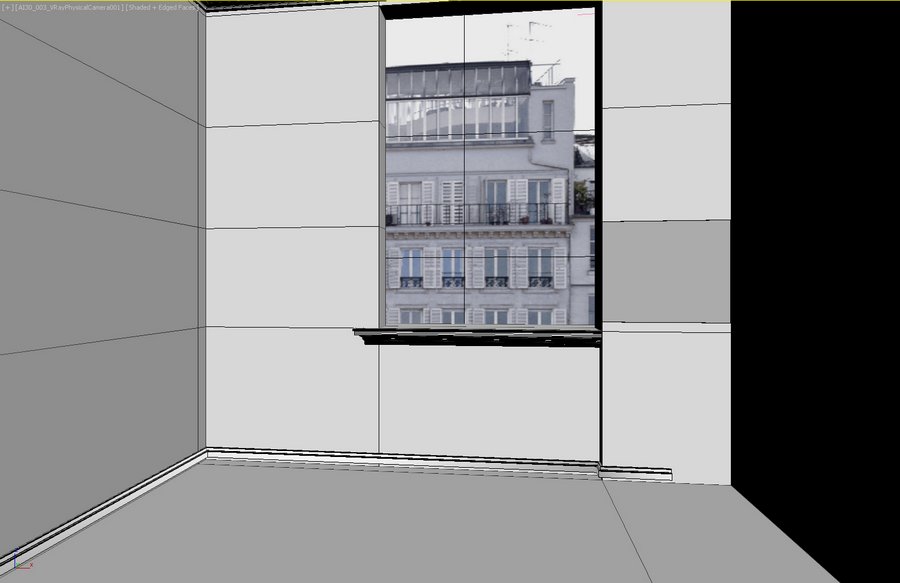
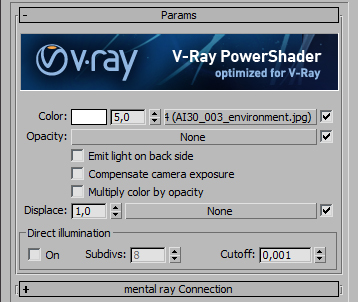
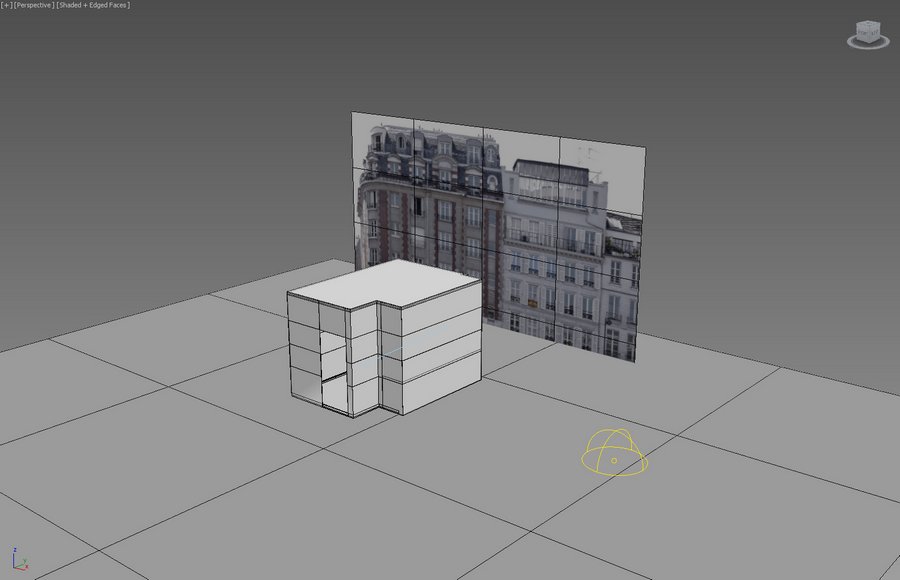
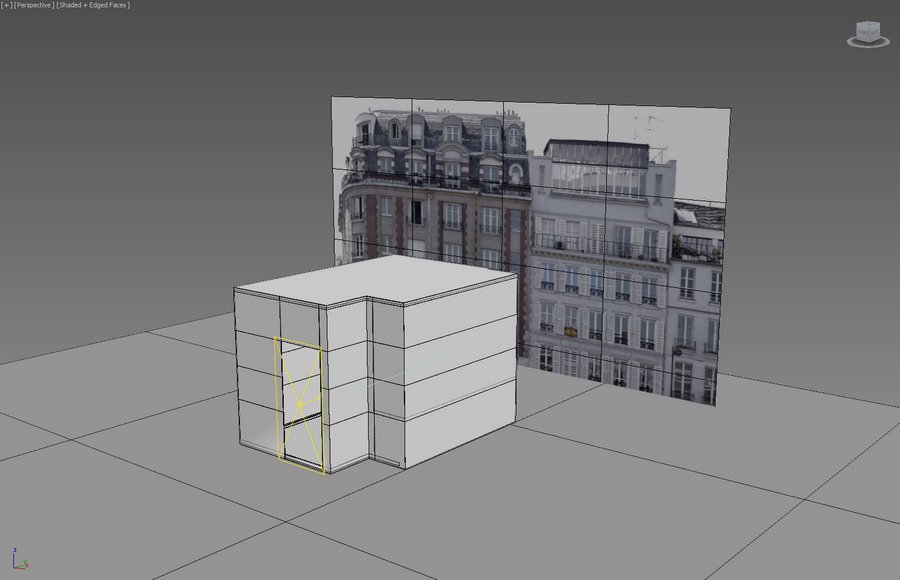
I add background that will be visible behind the window and I change its parameters in "Object properties" dialog so the global light will pass through it.
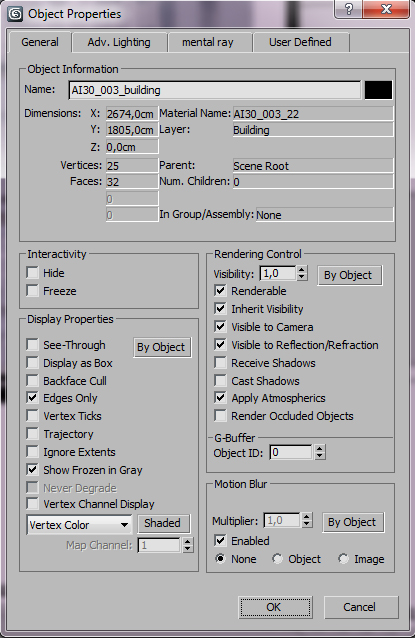
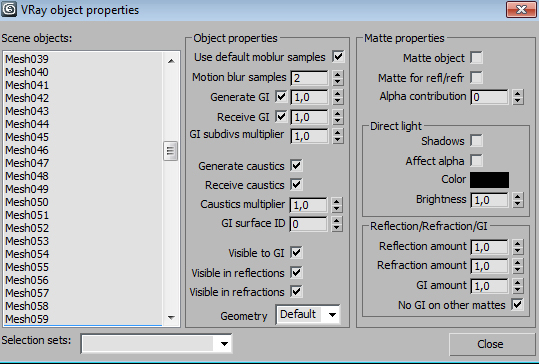
You have to remember to change "Alpha contribution" for plane to 0.0 in Your VRay object properties. This lets you to render alpha separately - everything behind the windows will be transparent. This way You can change the background later in Photoshop.
Background material
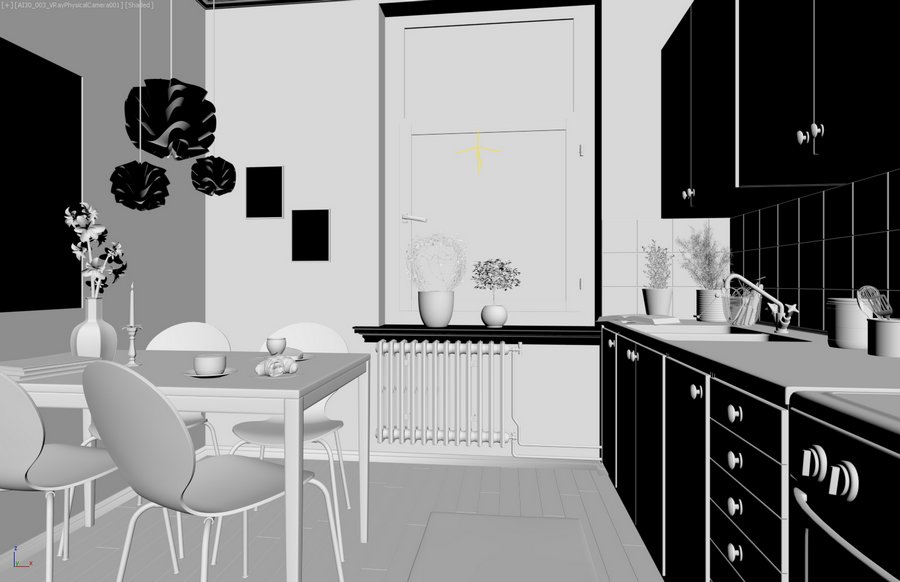
I make rest of the models or I just insert some Evermotion Archmodels if there is such possibility so I can save my time.
Before I assign materials, I set up the lighting. I usually use one global light, it can be HDRI in environment map slot or Vray Dome. In this scene I used the latter. If I need some more light in my scene I use also VRay light and directlight which is perfect to sunlight simulation.

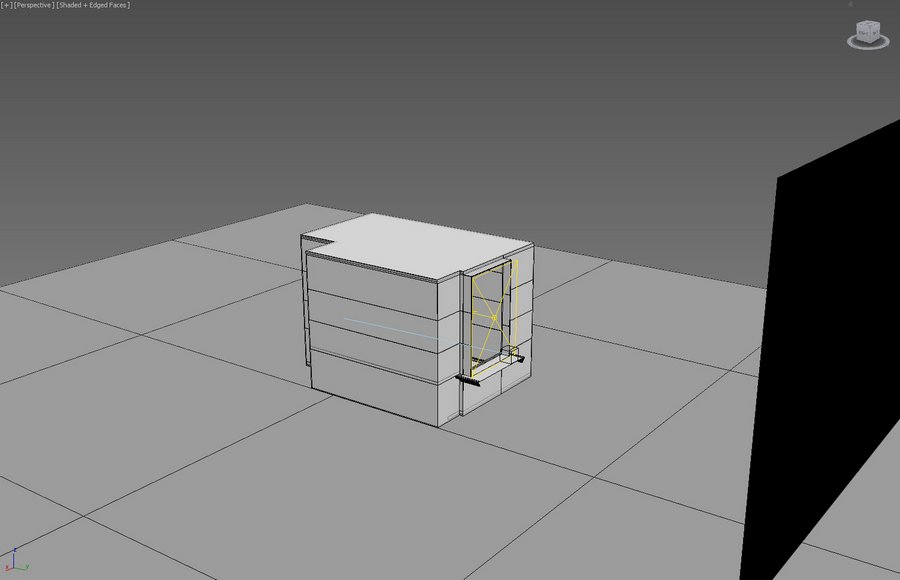

I added Vraylight and enabled skyportal function that clones parameters of vray dome (color, intensity) but gives more accurate shadows and therefore greater realism. The next step - making shaders.
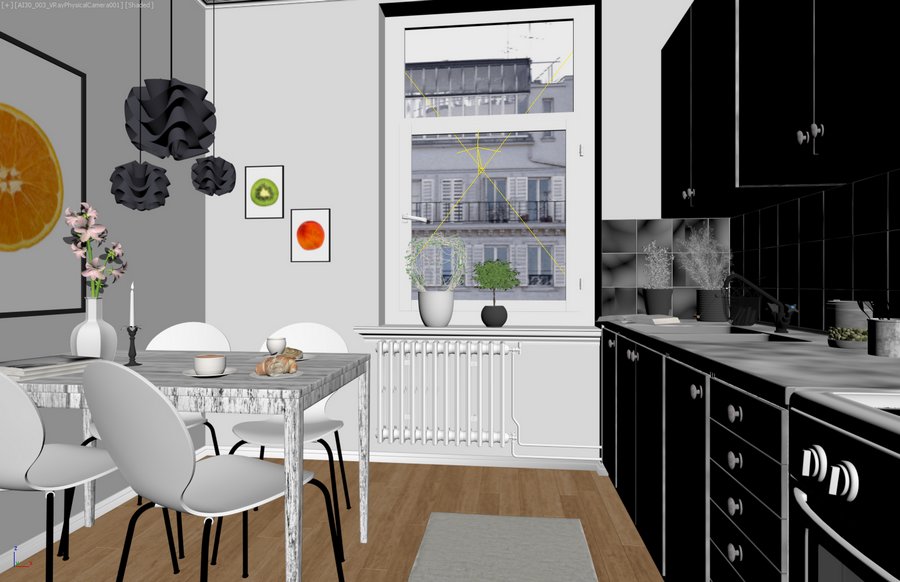
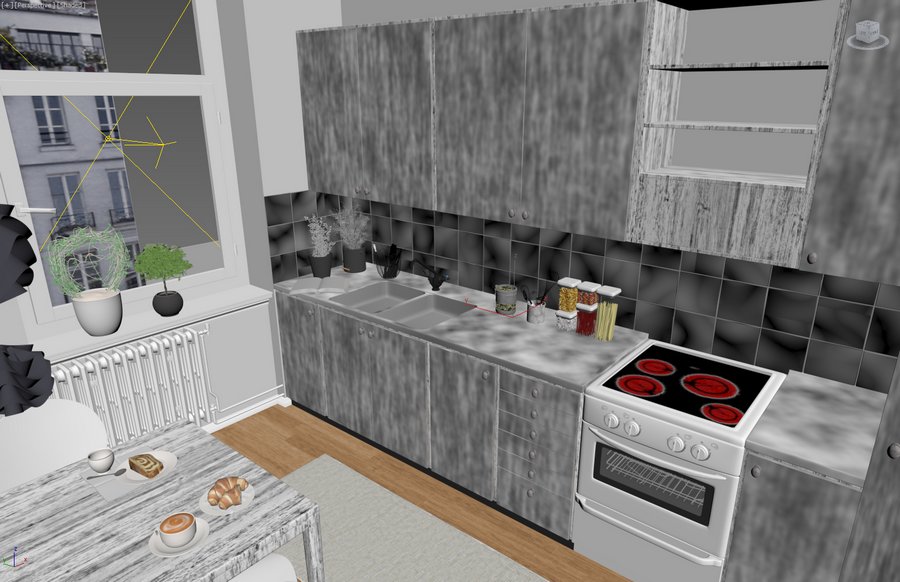
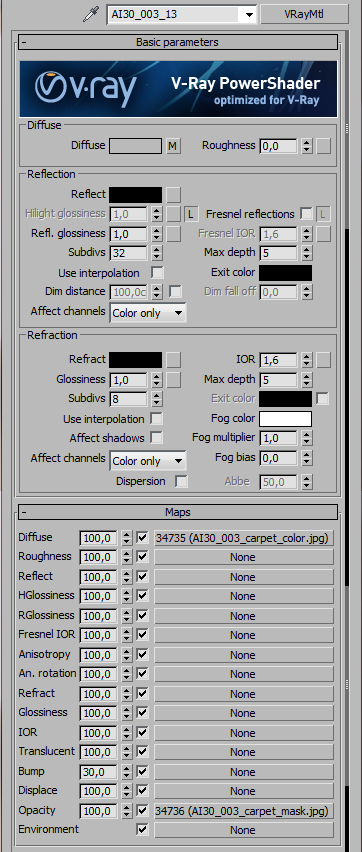
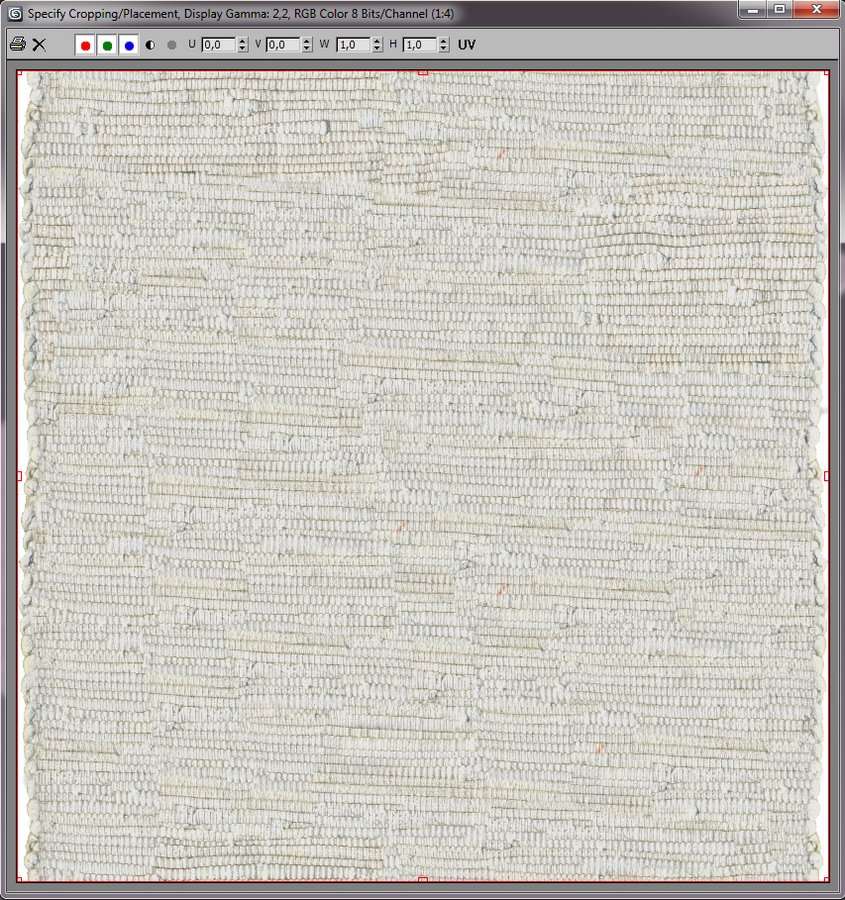
Most of them are simple materials - for. eg. carpet has two maps - one for diffuse and another for opacity. I didn't even alter any parameters. Carpet material:
Sink material:
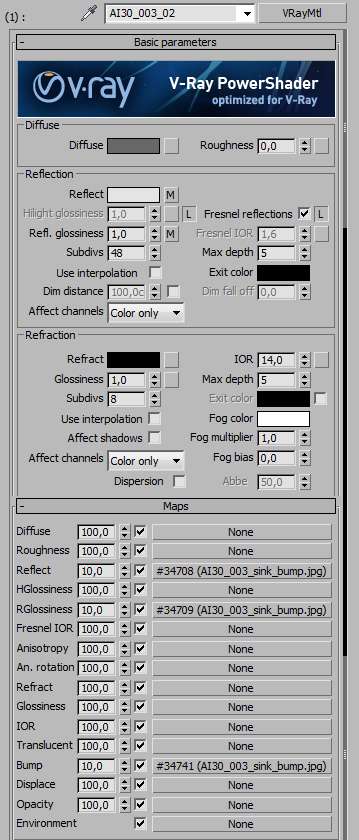
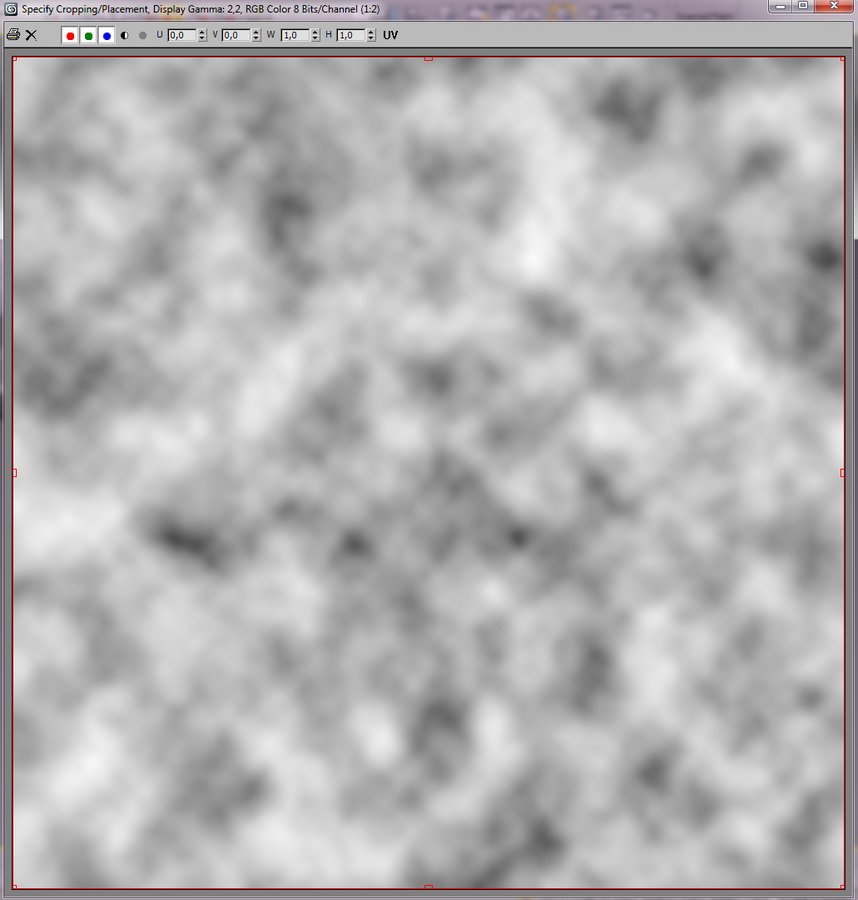
Sideboard material:
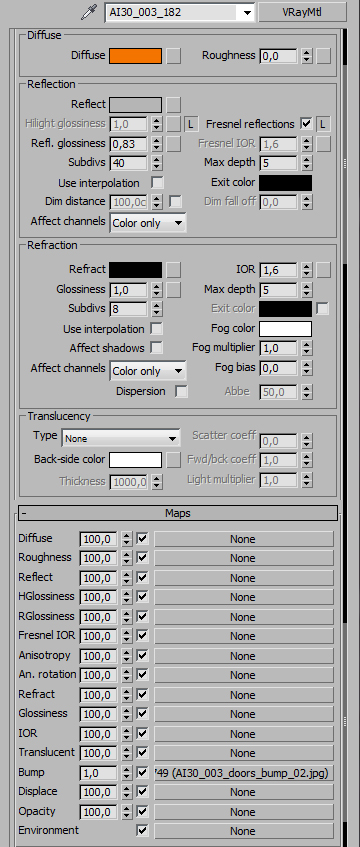
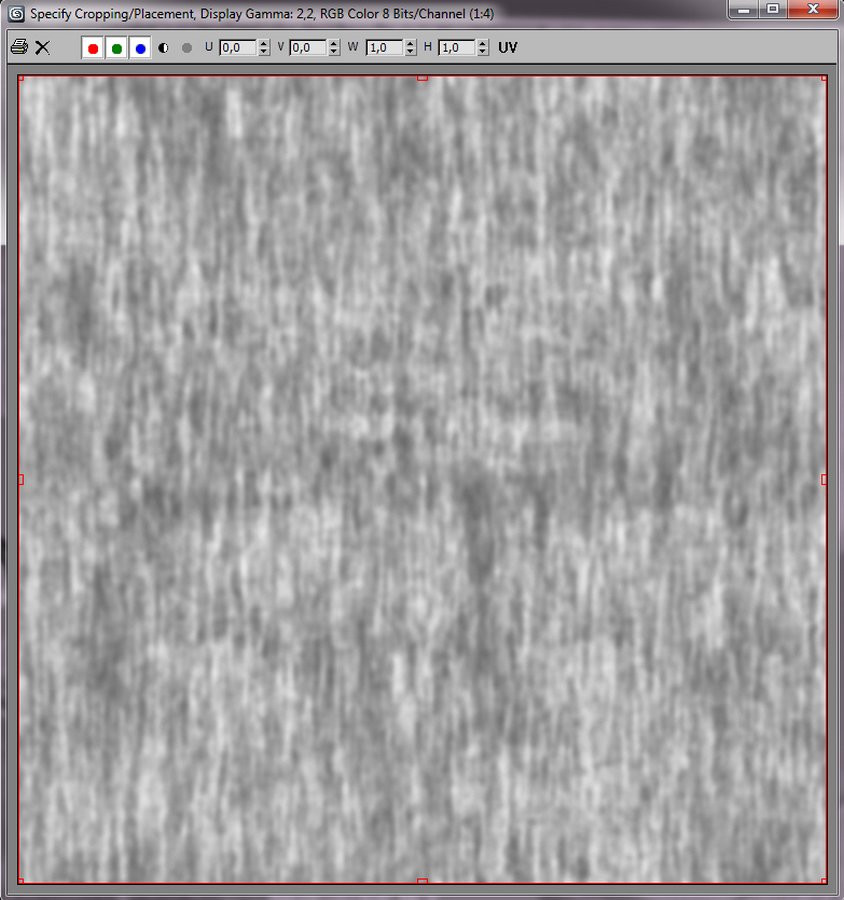
Door bump map:
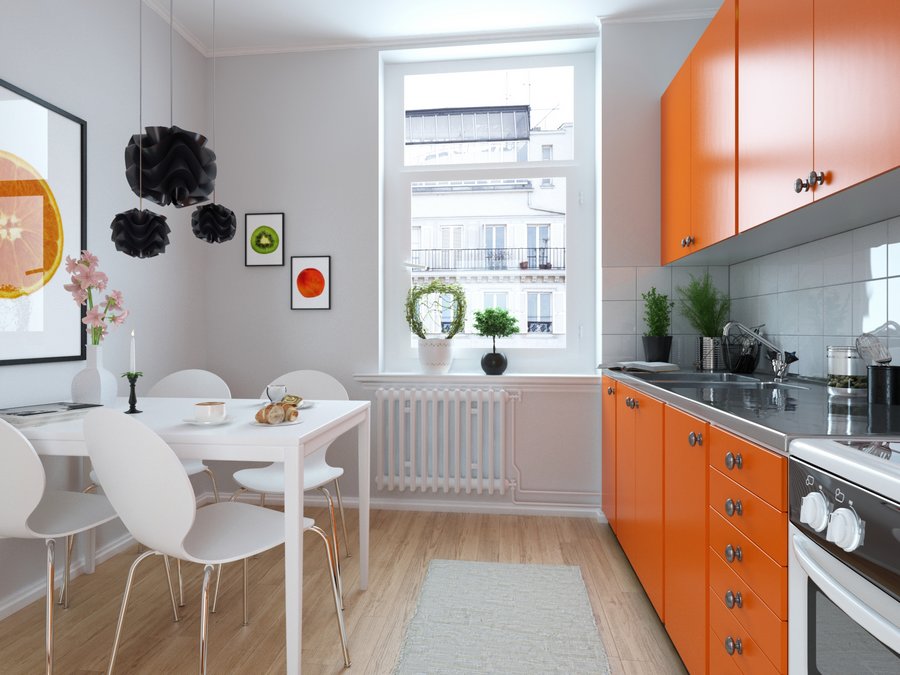
My trial render:
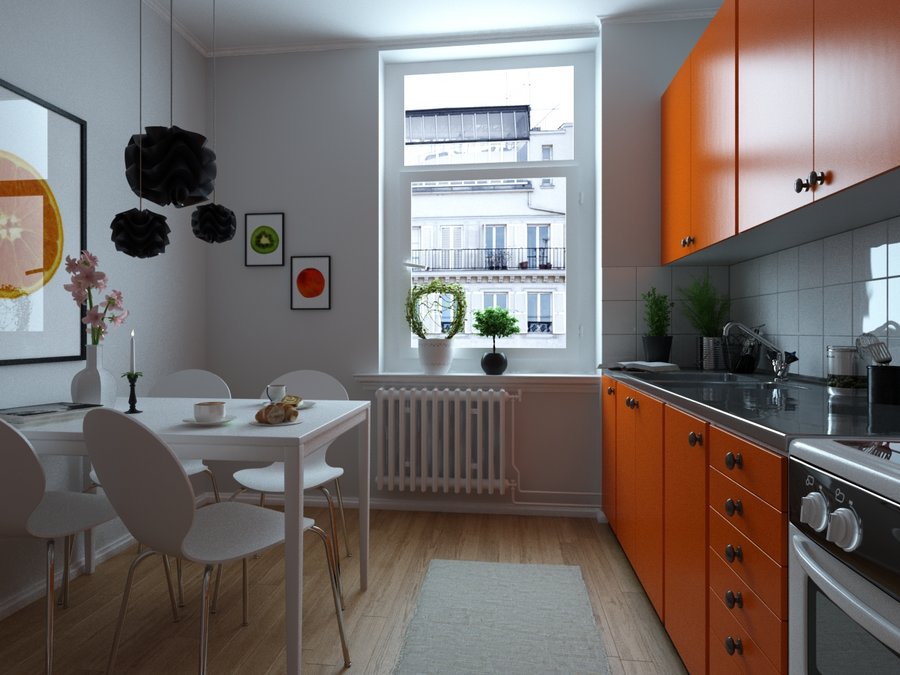
It turns out that the scene is too dark. Increasing intensity of global light is out of question, because it would burn-out window shutters and still it wouldn't give me desired effects. I decided to use one additional light from camera side.

Final render settings:
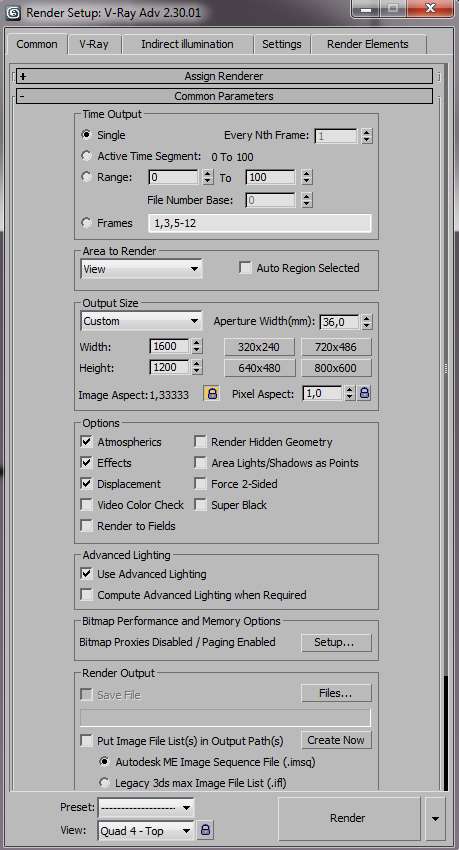
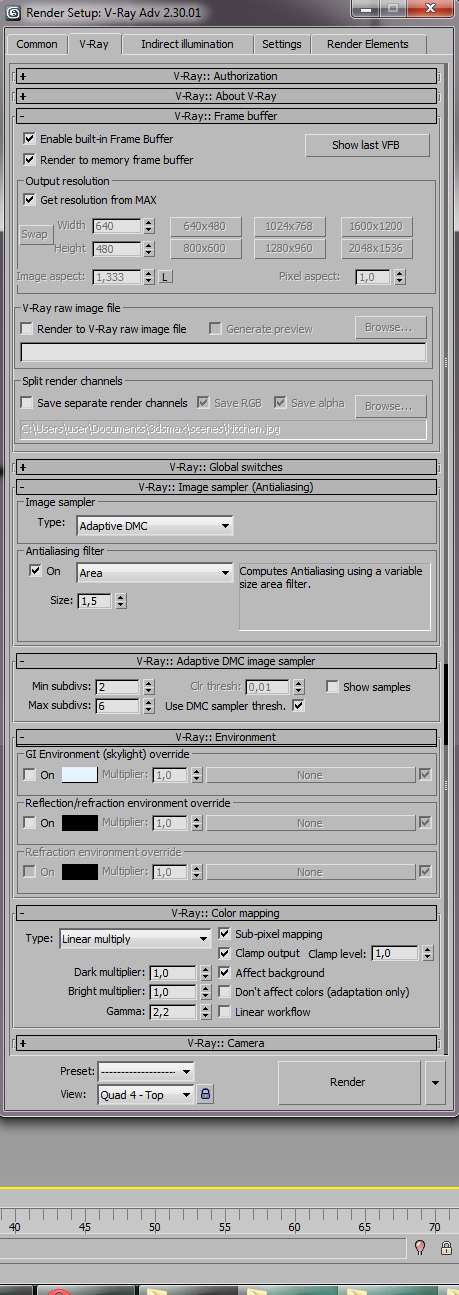
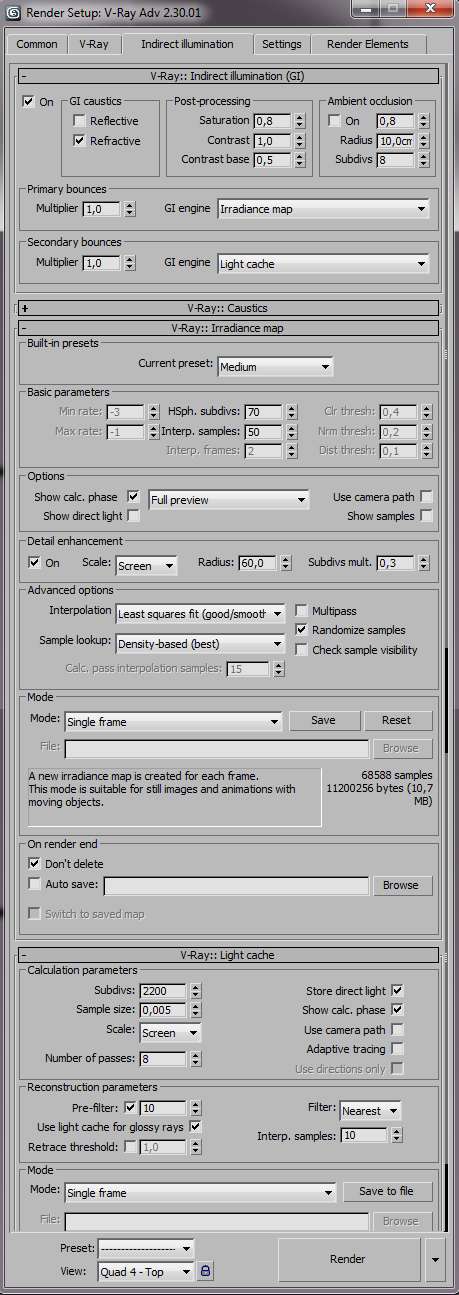
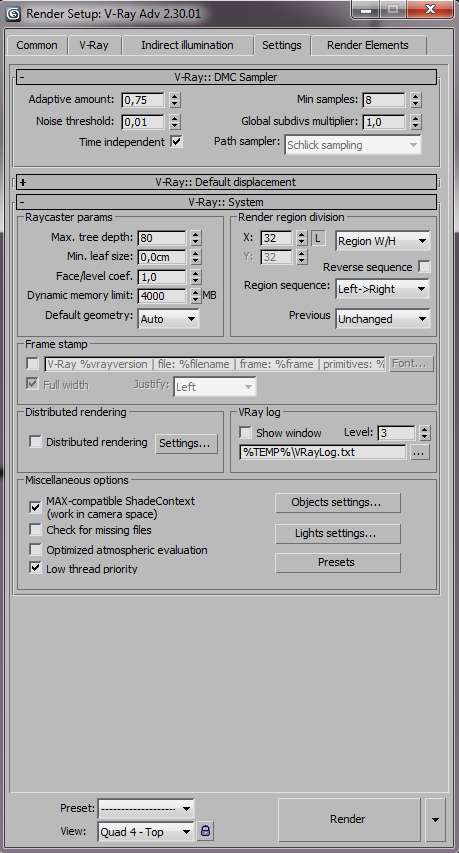
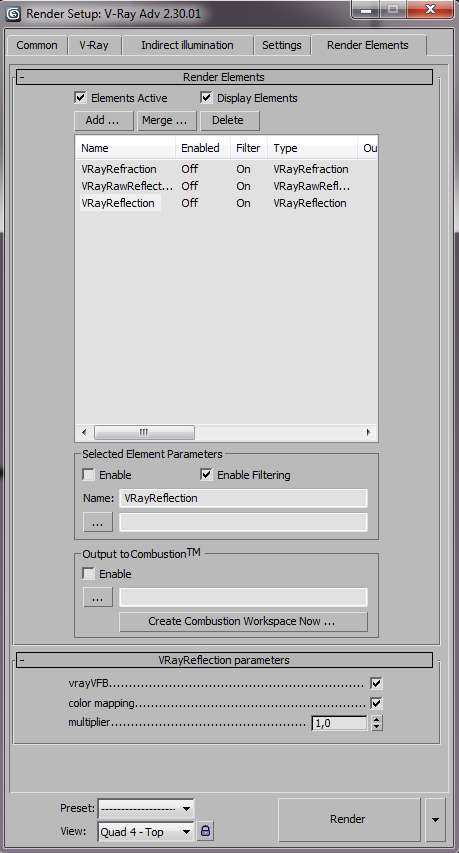
Of course, during making of shaders I used less accurate settings to shorten rendering times.
No comments:
Post a Comment